Fondant! How much fun was it to play with it? A LOT!
Course 3 was all about fondant. Well, a little bit of gum paste too. You have to mix the two together to get some good...actually, I'm not quite sure why you mix the two, but we did.
Anywhoo, this course we learned how to make, guess what? More flowers. I enjoyed making the flowers with fondant a lot more than icing. Fondant is basically like play dough so you can manipulate it any way you'd like. I was pretty amazed at how life-like the flowers look. Now, I did take some liberties on the flower colors. I'm pretty sure that if I every make a wedding cake, I would make the calla lillies white....lol.
Class 1
For our first class we made a bow out of fondant/gum paste blend. It's a pretty involved process. First, the gum paste is white, so you have to twist, and twist some more to get it completely pink. Once you've prepared your fondant blend, you have to roll it out. (See the little rolling pin thingy in the picture below). After you've rolled it out, you have to use the paint brush roller looking thingy (I know, I didn't learn the any actual names of products) to cut out perfect strips. Once you 16 - 4 inch strips and 3 circles, from large to small, you're ready to construct your bow. You also have to make some gum glue (little pieces of gum pasted dissolved in water) to attached the pieces together. Yes, I know this sounds like a lot, but it's fairly easy.
Now the thing about fondant is once it hits the air, it gets really hard. You want the bow to be a little firm, so it's okay, but long term, you want to put it in plastic while you work on other decor.
 |
| My workstation. See the rolling pin and paint brush roller? |
 |
| The finished product. Gum glue holds it all together. |
Class 2
It was all about the flowers for our second class. Again, I realize that my color choices for my flowers are not the most traditional. There are different tools and cut-outs use to make the flowers, all of which are included in the class kit or for individual purchase. For the calla lily and the mum we had to make bases in advance and let them dry. That made it easier to shape the rest of the flower around the base.
 |
| My purple calla lily with a sugary sweet stamen. |
 |
| My ends are a little rough because the fondant got dry. |
 |
| My blue carnation. It was pretty awesome to see it take shape and come together. |
 |
| Another Wilton Rose. It looks so real. |
 |
| Can't forget the calyx (lol...the green part). |
Class 3
You guessed it. More flowers.
 |
| My purple daisy. Yes, I like purple. |
 |
| You put the flowers in these little "cups" to help them take shape. |
 |
| My mum. Another fun flower to see it take shape. |
 |
| The mum was the most fun to make. |
Class 4
The Final Project. We had to bring a crumb coated cake to class so we could completely cover it with fondant once we got to class. Here we go!
 |
| First, we had to roll at the fondant. It was some really hard work. |
 |
| Next, we had to smooth out the fondant so that it perfectly covered the cake and trimmed up the excess fondant. |
 |
| Haha...so I didn't finish my cake in class because I didn't have my flowers done ahead of time like I was supposed to, but I did finish it at home that night. |
 |
| Side view. |
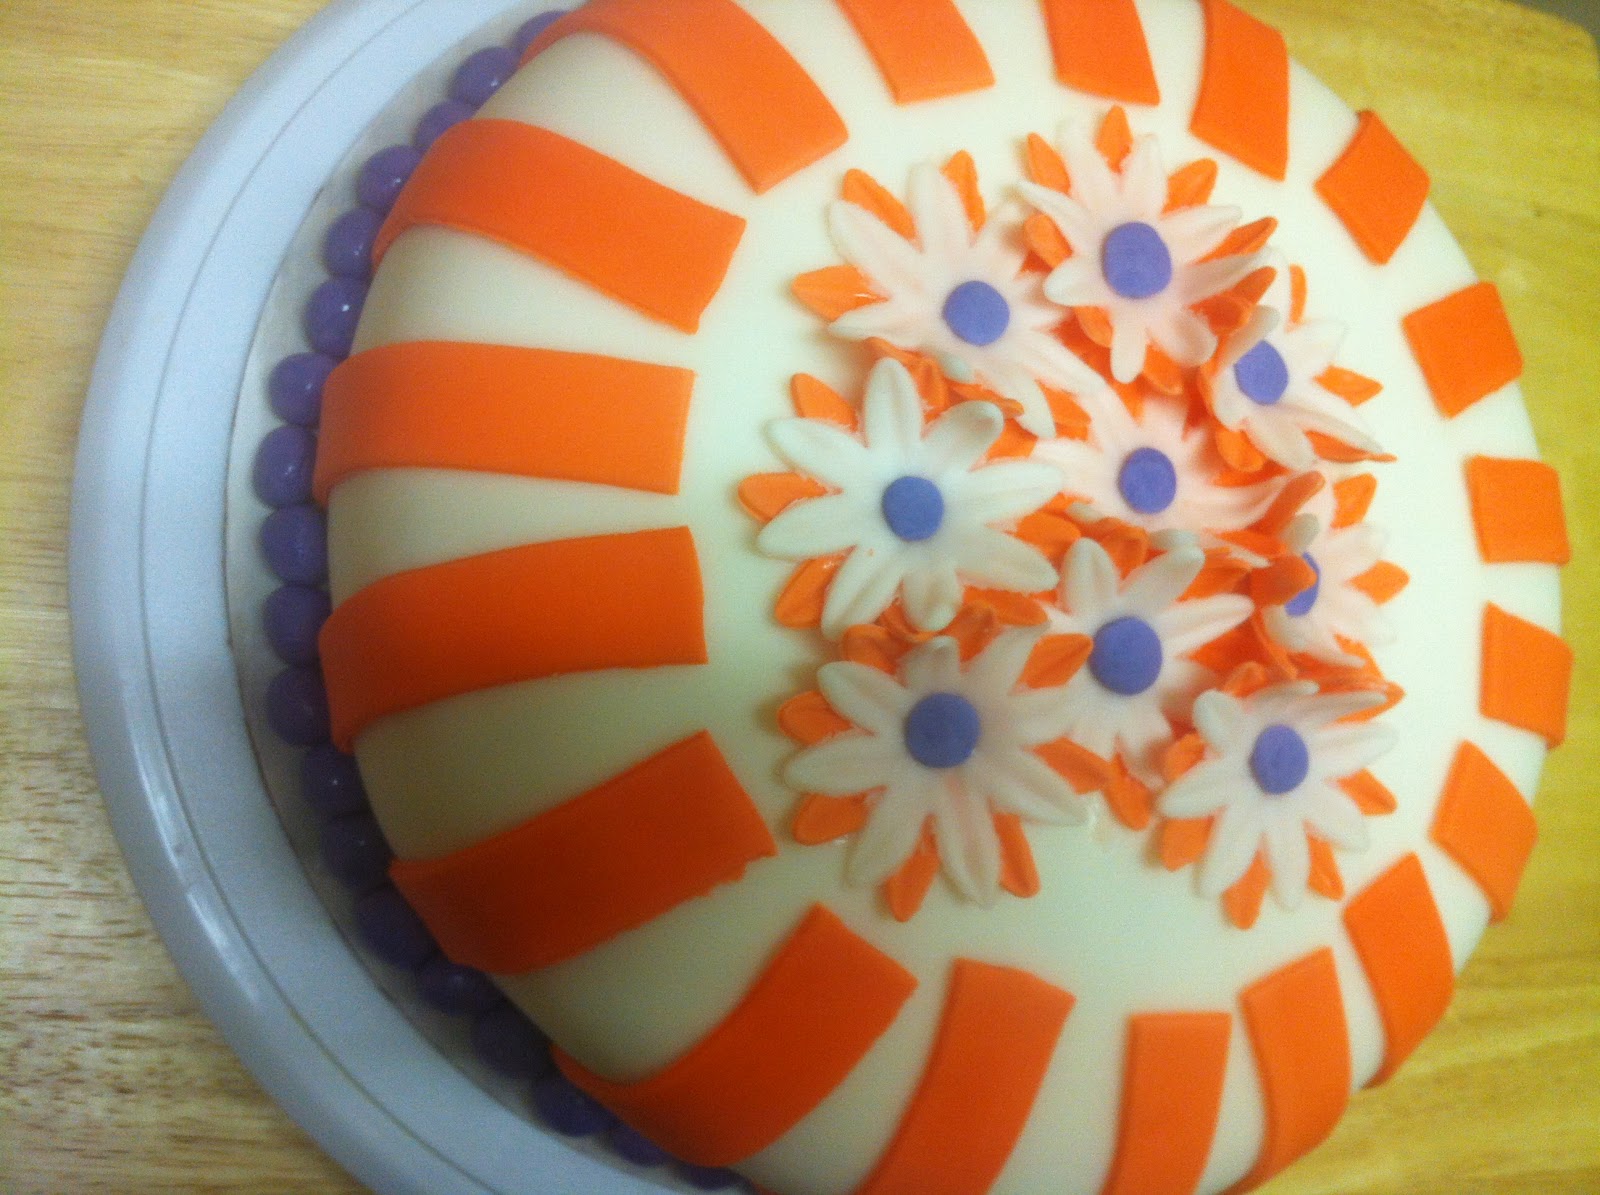
 |
| The finished project...YAY! |
Course 3 was by far my favorite. Fondant is definitely fun! Now eating fondant is another thing.
Now, Course 4 is in progress and we are doing advanced flowers using gum paste. You know I'm going to post all about it! Stay tuned!
We're not crazy about the taste of fondant, but it was fun to work with. Do you like the taste of fondant? Are you the one that eats the flowers off the cake?


That looks really nice! Makes me want to take a class, almost, lol. We could save a lot of money on cakes though! Good work ; )
ReplyDeleteThanks Ninah! You can totally do it. It's more cost upfront (i.e. supplies), but you would love it!
DeleteVery nice! It looks beautiful.
ReplyDeleteThanks Shannon! Appreciate it!
Delete